Adding the Booking
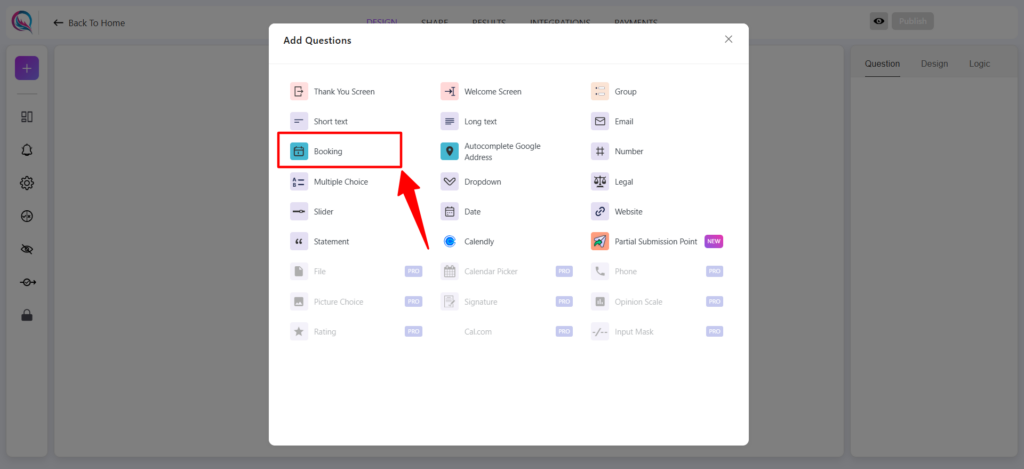
To begin, click on the “+” icon to add a new block to your form. From the list of available options, select Booking.
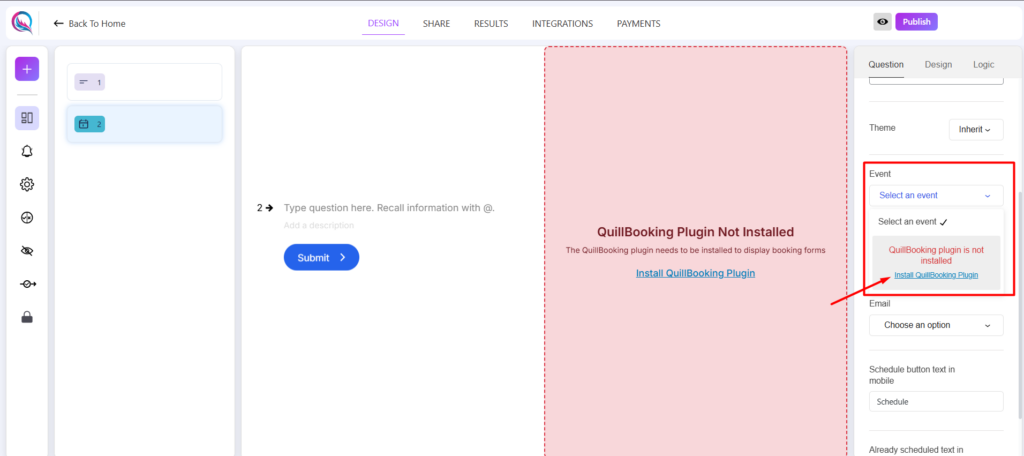
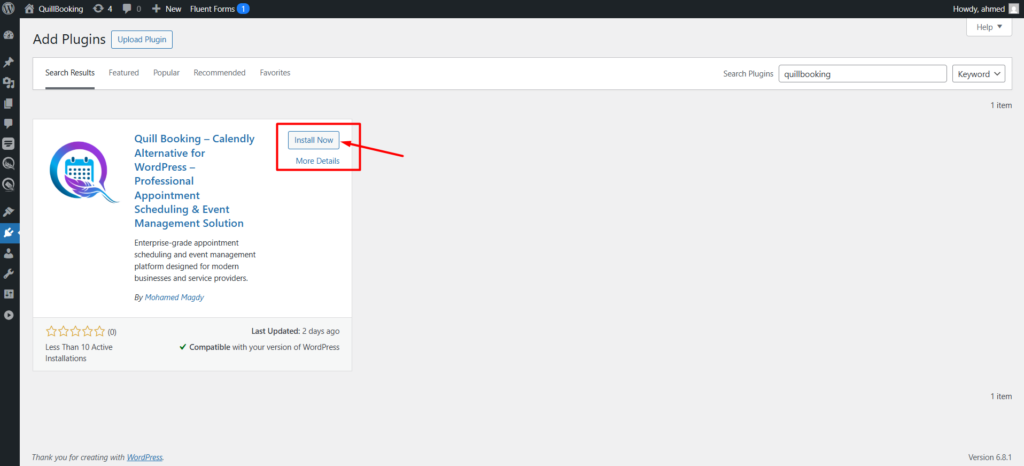
After this, you should install the QuillBooking plugin on your WordPress site. Click this link to install the plugin.
Click on Install Now.
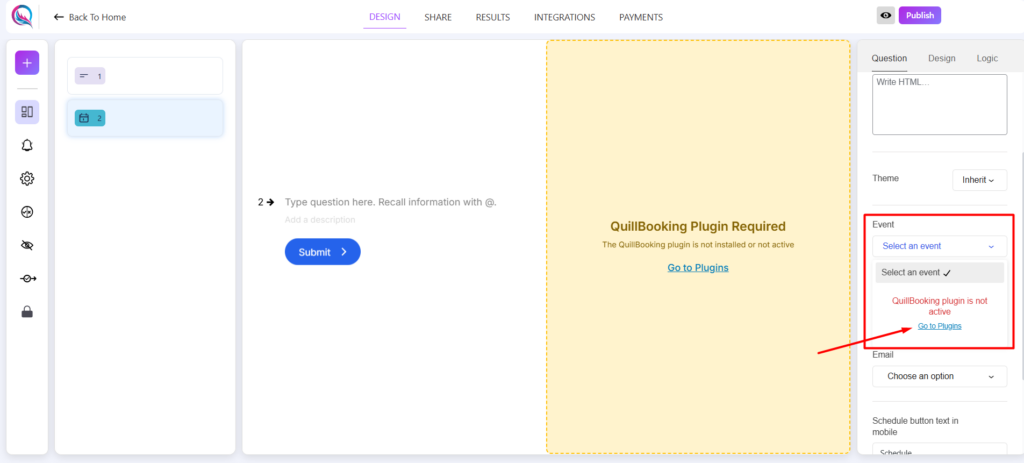
If the plugin is installed but not activated, a notice will appear. Click this link to activate the plugin.
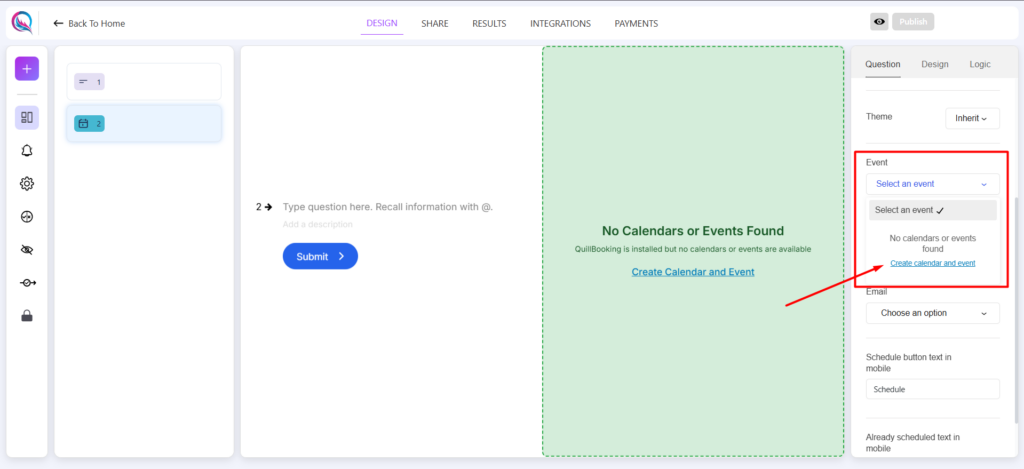
If no calendars or events are found, you’ll see a notice. Click here to create your first calendar and event.
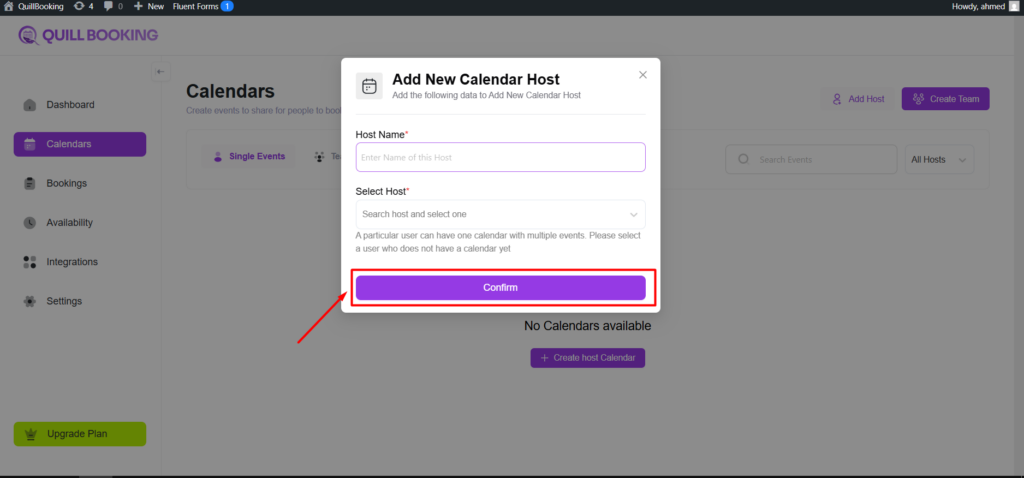
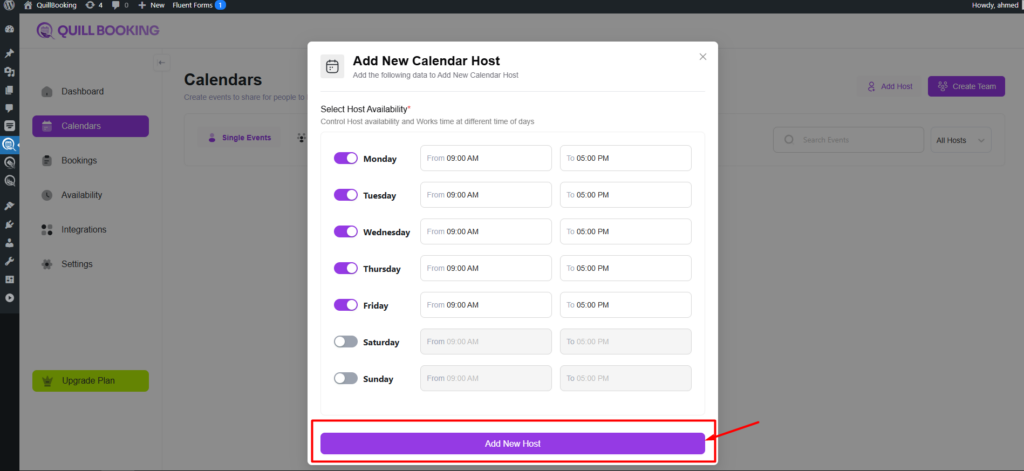
First, select a host and enter a name. Then, click Confirm and set the host’s availability.
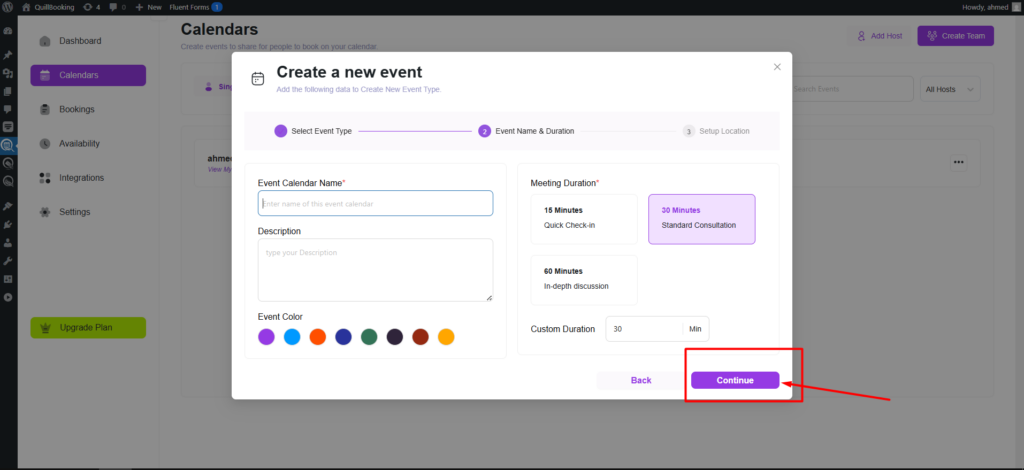
After this, please create an event by setting its name, selecting your preferred color, and clicking Continue.
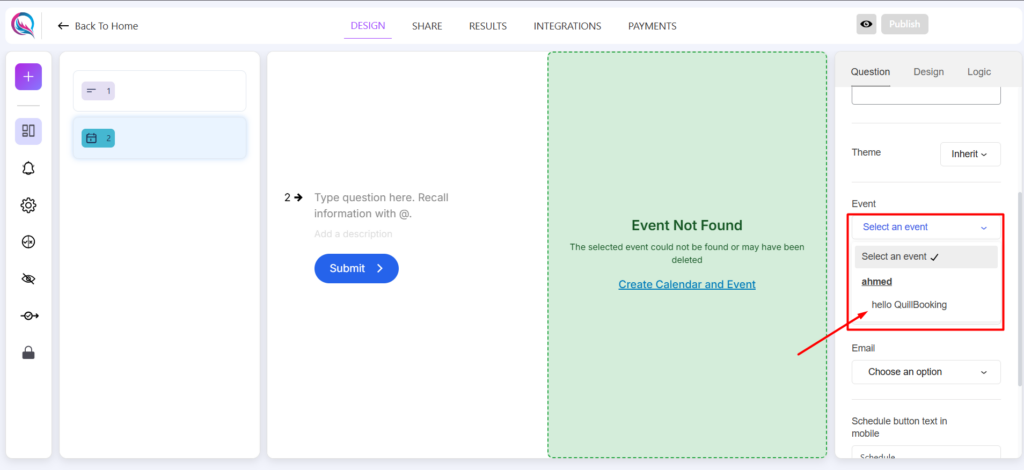
After this, please select your event from the dropdown menu.
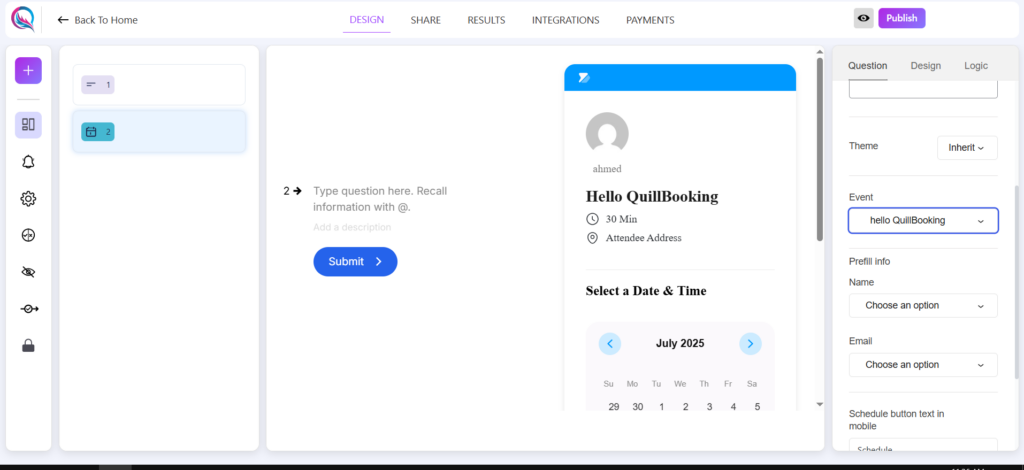
This will update the form to display your QuillBooking setup, allowing users to submit a booking.
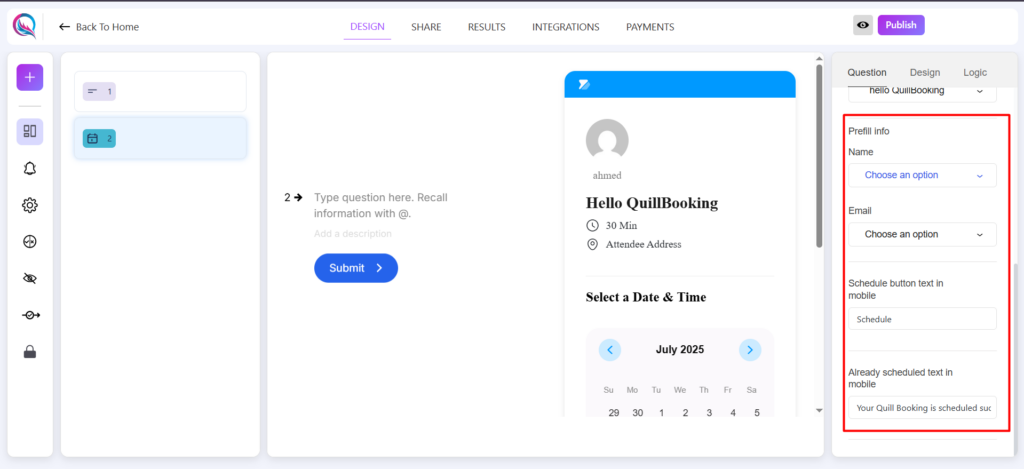
Field Customization
- Required (on/off): Enable this option to make booking mandatory.
- Prefill Info: Automatically fills in the QuillBooking Email and Name fields when the user provides their email and name.
- Schedule Button Text (Mobile): This is the label of the button that opens the booking modal on mobile screens.
- Already Scheduled Text (Mobile): This message will appear as a success confirmation after a booking is created.