Intro
Are you looking for a hassle-free way to export your form entries into PDF format? Look no further than the QuillForms PDF Entries Export addon. QuillForms is a user-friendly form builder plugin for WordPress that simplifies the creation of custom forms. With the PDF Entries Export addon, you can seamlessly integrate QuillForms and export your form submissions as professional-looking PDF documents. Whether you need to generate invoices, reports, or certificates, this addon empowers you to effortlessly convert your form data into visually appealing PDF files. In this guide, we’ll walk you through the process of setting up the QuillForms PDF Entries Export addon and show you how to leverage this integration to streamline your data export process. Say goodbye to manual data conversion and hello to a simplified and efficient approach with QuillForms. Let’s dive in and unlock the full potential of exporting your form entries into PDF format.
How to setup
1. Go to the form you want to connect with PDF Entries Export and click Integrations Tab.

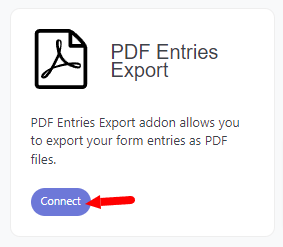
2. Click the “Connect” button.
PDF Settings
- Notifications: Choose which email notifications you want to attach the PDF with. To know how to add email notifications, please read this doc.
- File Name: Set a custom file name for the PDF file. Instead of using the default file name, you can personalize it by entering a name of your choice. This helps you easily identify and organize your PDF files.
- Paper Size: Choose the PDF paper size. Select the appropriate paper size for your PDF, such as A4, Letter, Legal, or custom dimensions. This ensures that the PDF is formatted correctly for printing or viewing.
- Font: Choose the PDF content font family. Customize the appearance of the text in the PDF by selecting a font family. You can choose from various fonts to suit your preferences or maintain consistency with your branding.
- Image DPI: Set the PDF Image DPI. DPI (dots per inch) determines the resolution of images in the PDF. Higher DPI values result in sharper and more detailed images, but also larger file sizes. Adjust the DPI to balance image quality and file size according to your needs.
- Font Size: Set the PDF font size. Specify the size of the text in the PDF document. You can choose a font size that ensures readability and visual appeal, making the content easily accessible to readers.
- Font Color: Set the PDF text color. Customize the color of the text in the PDF. You can choose from a wide range of colors to match your branding or enhance the visual appearance of the document.
- Orientation: Choose the PDF orientation. Select the orientation of the PDF pages, either portrait (vertical) or landscape (horizontal). This setting determines how the content is arranged on the page and can be adjusted to best suit the type of content you are working with.
- Show Empty Fields: Enable/Disable showing the form empty fields. Decide whether to display empty form fields in the PDF document. Enabling this option can be useful for providing a comprehensive view of the form, while disabling it hides fields without any user input.
- Enable Custom Header: Enable it to customize the PDF header. By enabling this option, you gain the ability to customize the header section of the PDF. You can include logos, titles, dates, or any other information that you want to appear at the top of each page.
- Enable Custom Body: Enable it to customize the PDF body. When this option is enabled, you can personalize the content within the body of the PDF. This allows you to add additional text, images, or any other elements to the main section of the document.
- Enable Custom Footer: Enable it to customize the PDF footer. Enabling this option gives you the ability to customize the footer section of the PDF. You can include page numbers, copyright information, contact details, or any other relevant information at the bottom of each page.
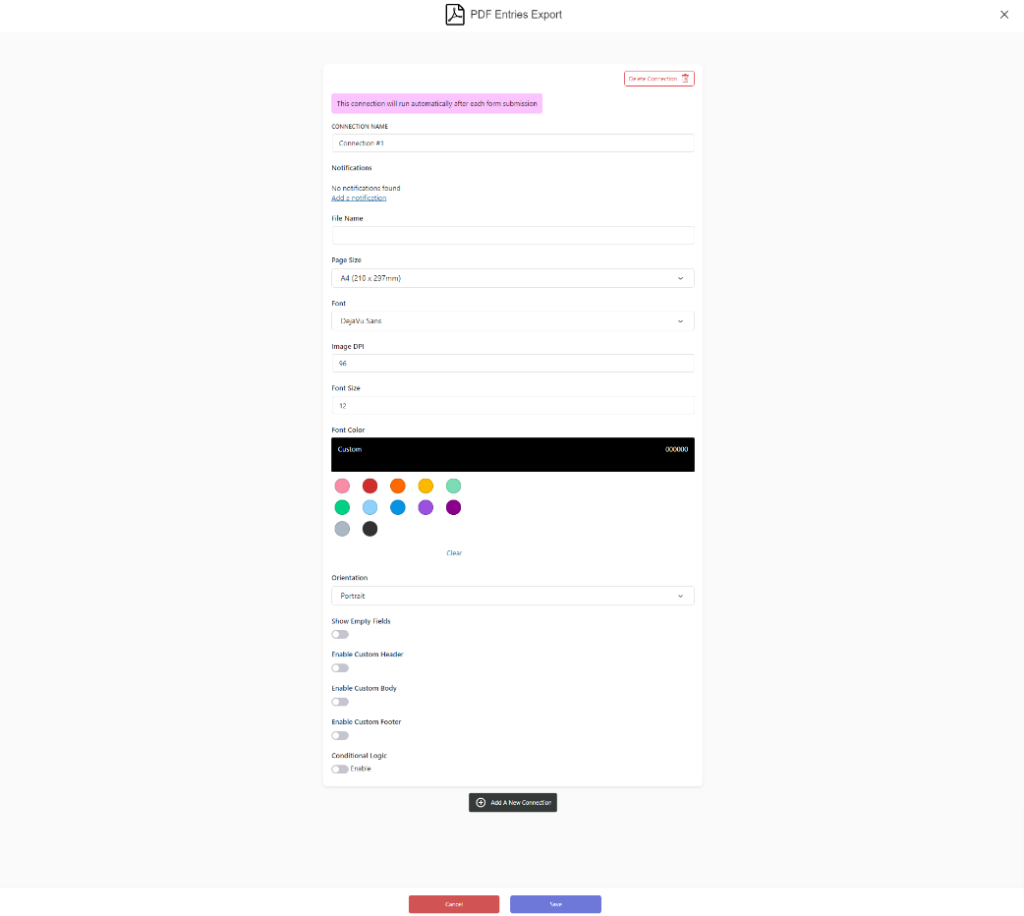
3. Enable “Conditional Logic” if you like to run this connection under certain conditions only.
4. Click the “Save” button.
5. Now you’re all set! All your new form submissions will be processed with this connection.
How to export results?
First, make sure that the “Entries” addon is active as well.
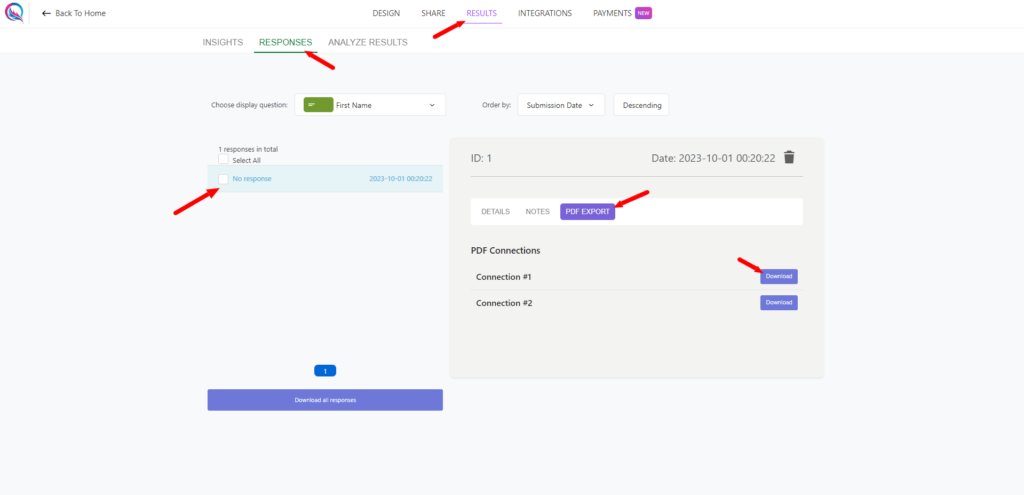
- Start by navigating to the “Results” page of the form.
- Once on the “Results” page, locate and click on the “Responses” tab.
- In the list of responses that appears, find and click on the specific response that you wish to export.
- Inside the section related to the selected response, look for the “PDF Export” tab.
- Within the “PDF Export” tab, you’ll see a “Download” button. Click on this button to initiate the download of the response with the chosen export connection.
Conclusion
The QuillForms PDF Entries Export addon offers a simple and effective solution for exporting your form entries into PDF format. By seamlessly integrating QuillForms with the PDF Entries Export addon, you can effortlessly convert your form submissions into professional-looking PDF documents. Say goodbye to manual data conversion and hello to a streamlined and efficient approach to exporting your form data. With the QuillForms PDF Entries Export addon, you can generate invoices, reports, certificates, and more with ease. Take control of your data export process today and experience the power of this seamless integration. Start simplifying your data export process and unlock the full potential of your form submissions with QuillForms.


