To connect your forms with AWeber you need to install the “Quill Forms AWeber” addon first from “Quill Forms > Addons” Page.
How to setup:
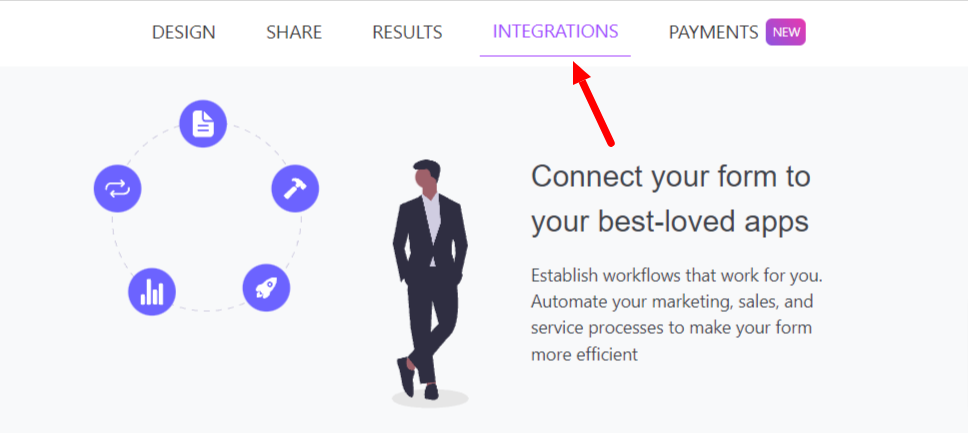
- Go to the form you want to connect with AWeber and click Integrations Tab.
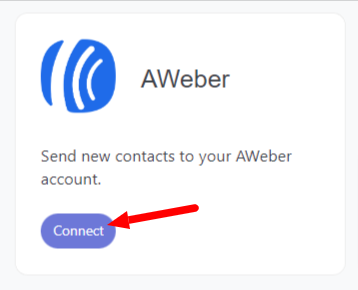
2. Click “Connect” button.
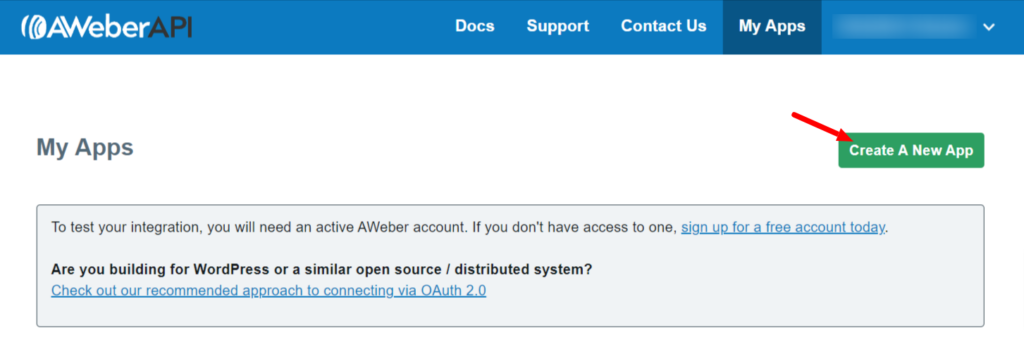
3. For first time, you need to connect your AWeber account with Quill Forms.
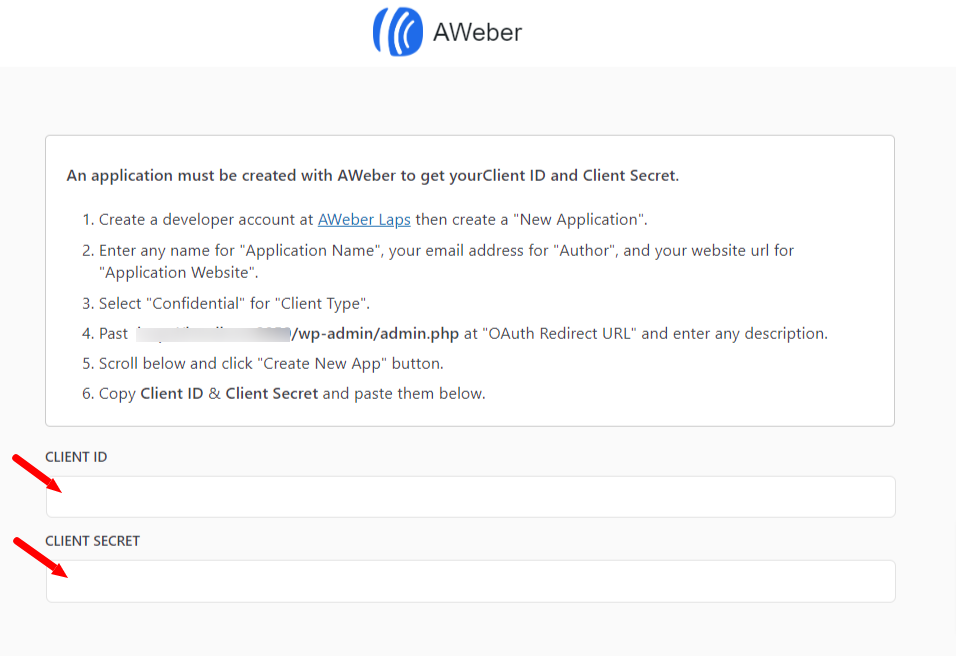
- Create a developer account at AWeber Laps then create a “New Application”.
- Fill app fields as below.
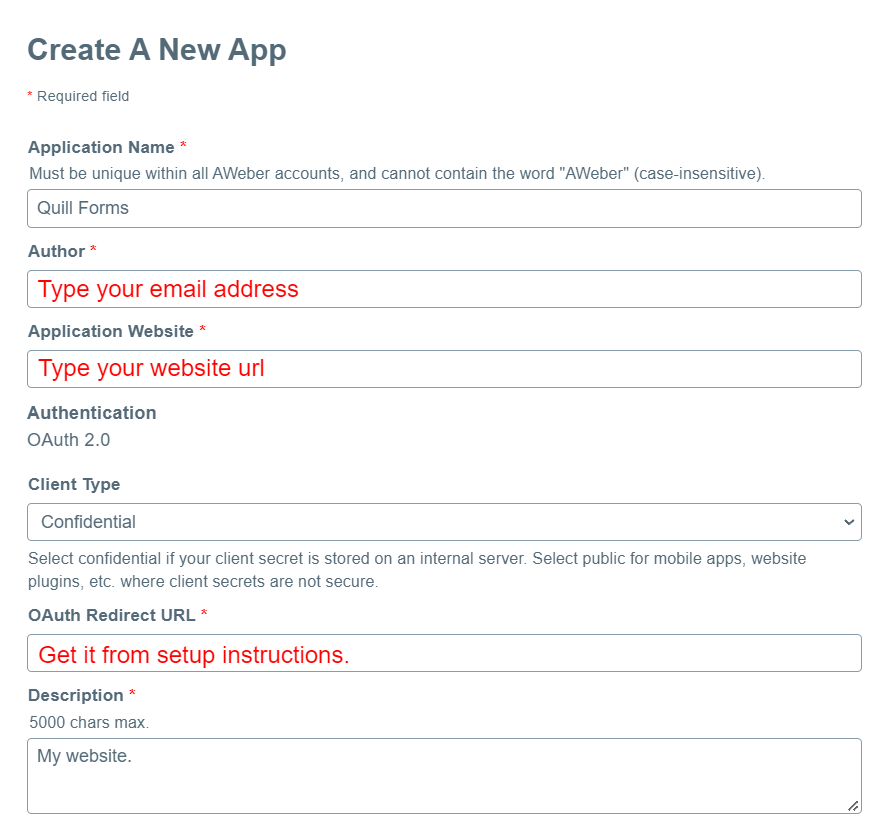
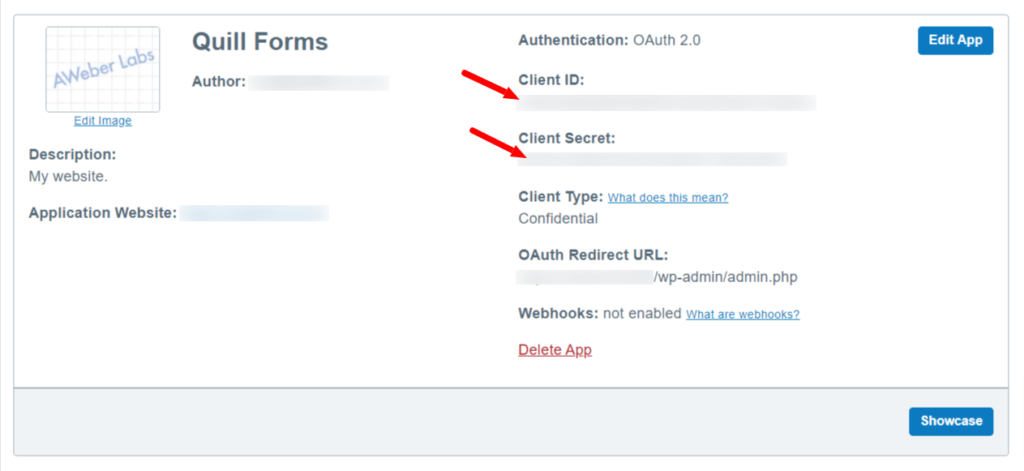
- Copy “Client ID” & “Client Secret” of your created app. and paste them in setup instructions screen.
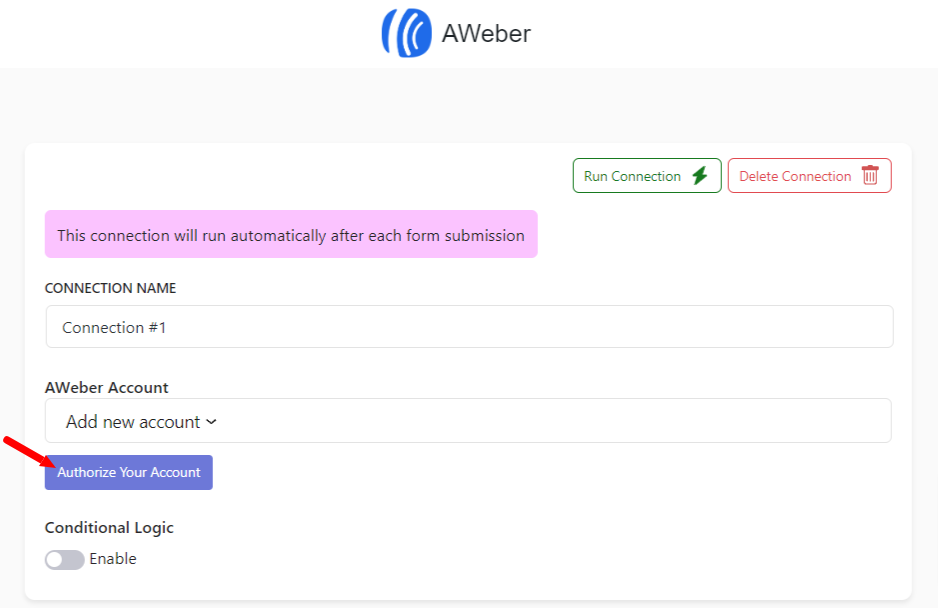
- Click “Save” button then click “Authorize” button.
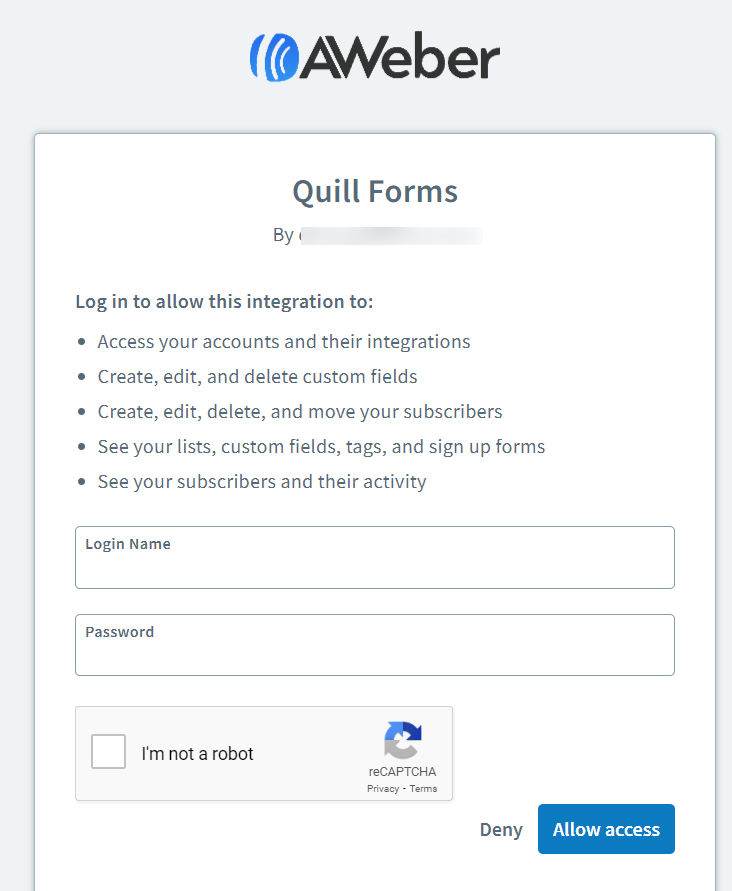
- Login to your AWeber account in the popup and click “Allow Access”
- now you’ve connected your AWeber successfully. you won’t need to repeat these steps next time!
4. Select list you want to add your contact to, Map AWeber fields and custom fields to your form fields, Add tags you like.
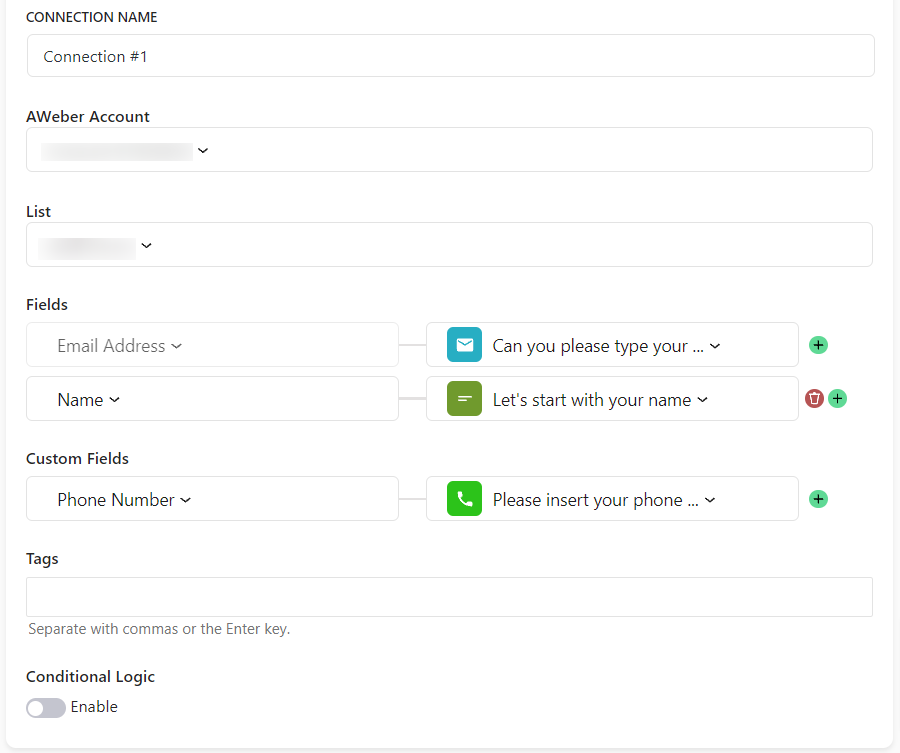
5. Enable “Conditional Logic” if you like to run this connection under certain conditions only.
6. Click “Save” button.
7. Now you’re all set! All your new form submissions will be processed with this connection. You can also run this connection manually for already submitted entries by clicking “Run Connection” Button!. You can also add additional connections with different AWeber account, settings or conditional logic.


