Intro
Are you looking to streamline your email marketing and manage your contacts effortlessly? The QuillForms Listmonk addon is here to help! QuillForms, a powerful and intuitive form builder plugin for WordPress, now integrates seamlessly with Listmonk, an open-source email marketing and newsletter tool. With this integration, you can automatically add form submissions to your Listmonk account, ensuring your mailing lists are always up-to-date. In this guide, we’ll walk you through setting up the QuillForms Listmonk addon and making the most of its features to optimize your email marketing campaigns.
How to setup
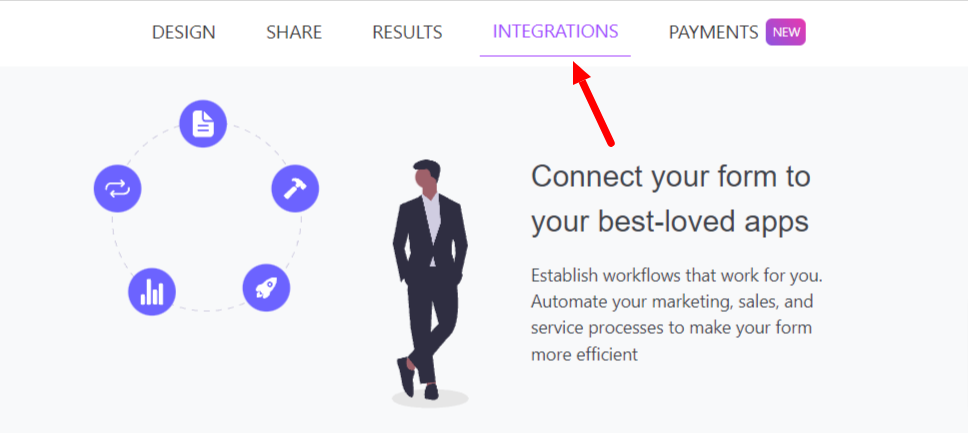
- Go to the form you want to connect with Listmonk and click on the Integrations tab.
2. Click the “Connect” button.
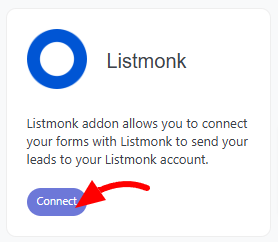
3. For the first time, you need to connect your Listmonk account with QuillForms.
Follow these steps to obtain your API credentials:
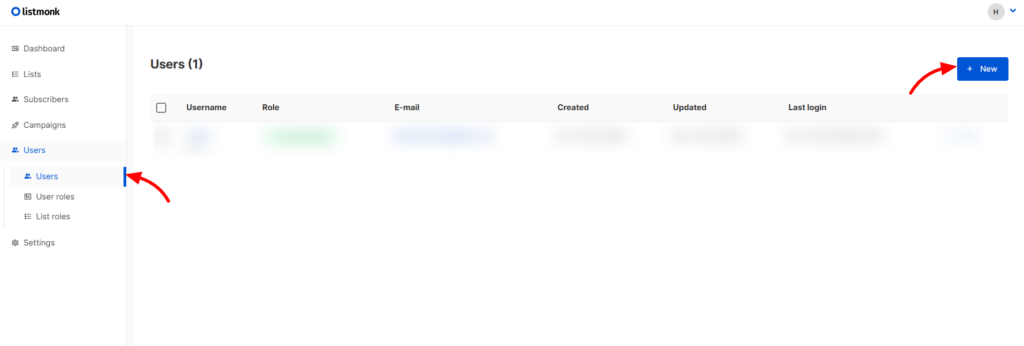
- Go to your Listmonk dashboard.
- From the left-side menu, click on Users.
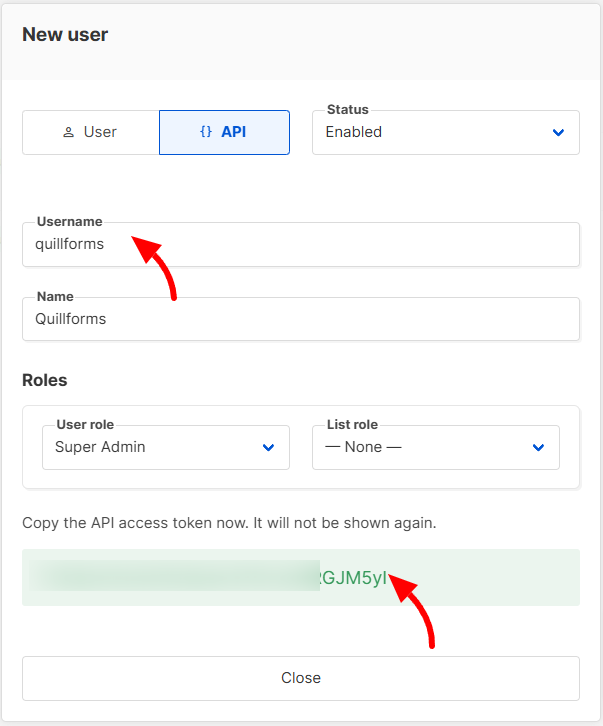
- Click the New button.
- Select API User.
- Enter a Username and Name for the account.
- Click Save.
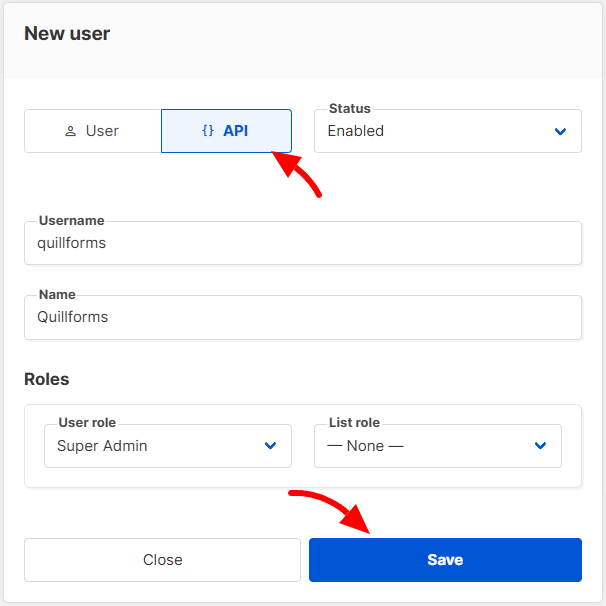
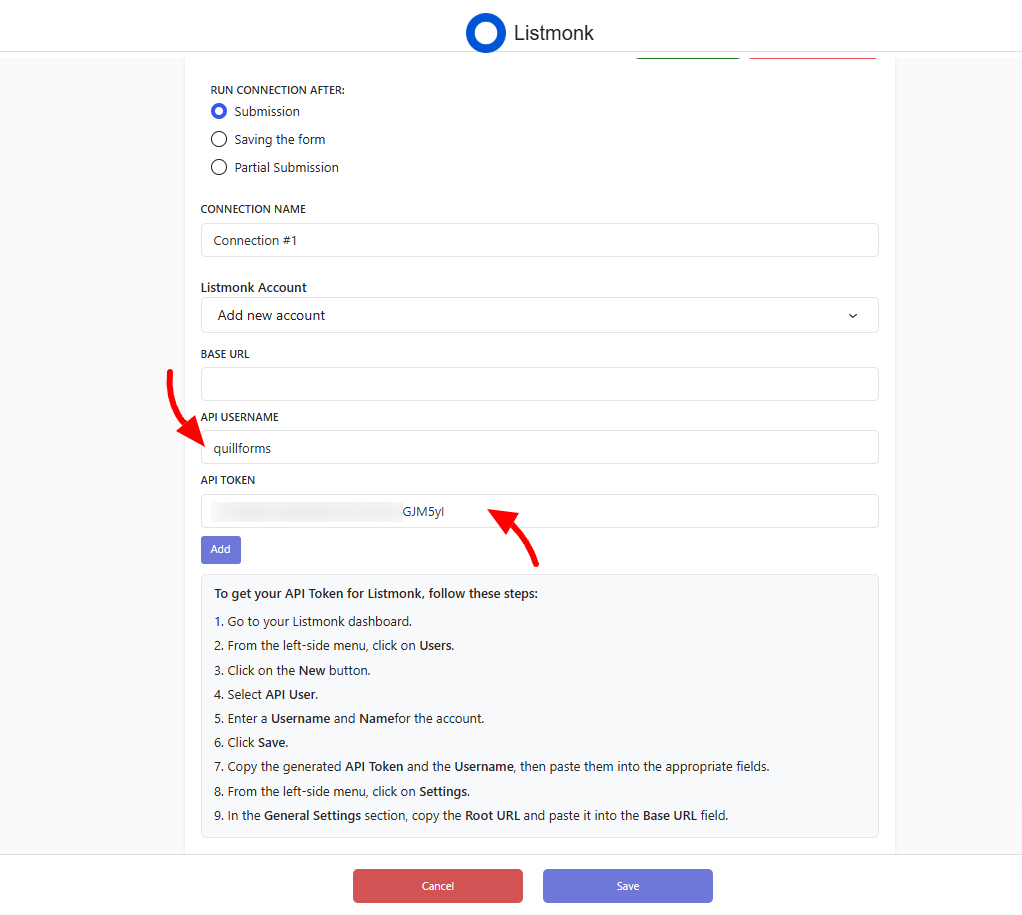
- Copy the generated API Token and Username and paste them into the appropriate fields in QuillForms.
Next, you’ll need the Base URL for your Listmonk installation:
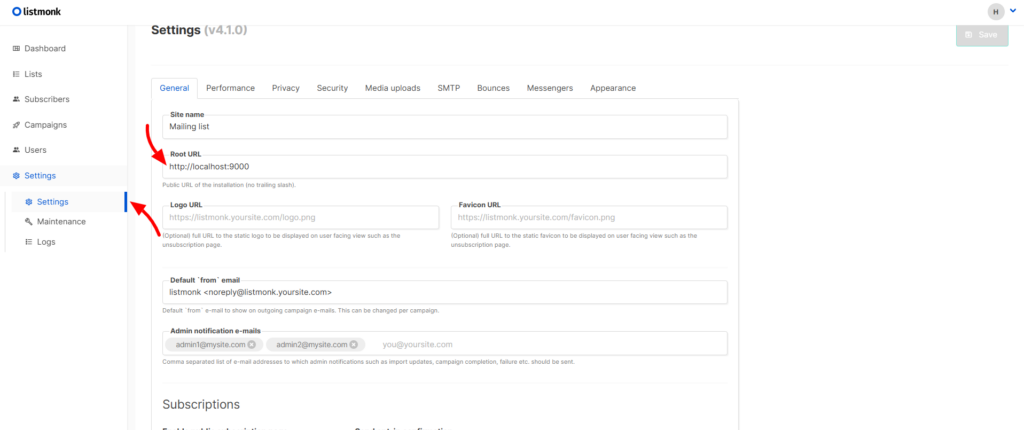
- From the left-side menu in Listmonk, click on Settings.
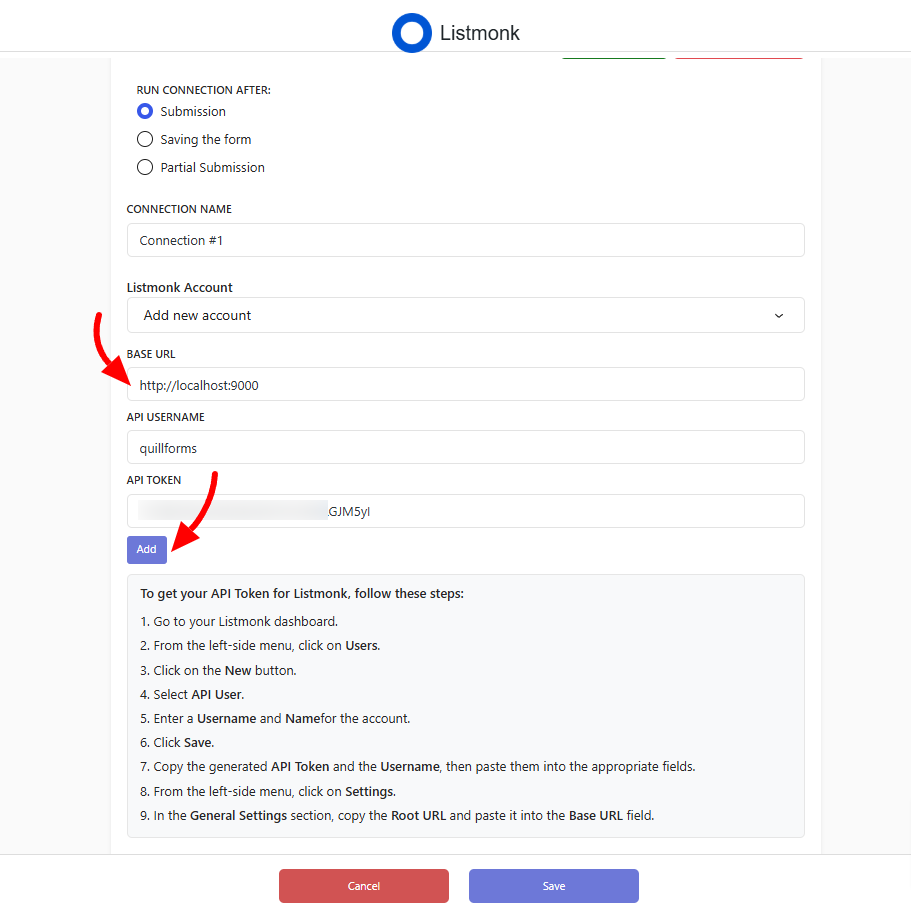
- In the General Settings section, copy the Root URL and paste it into the Base URL field in QuillForms.
- Click the “Add” button.
4. Map your form fields to the corresponding Listmonk fields. Select the lists you want to add the subscriber to, along with their status and attributes.
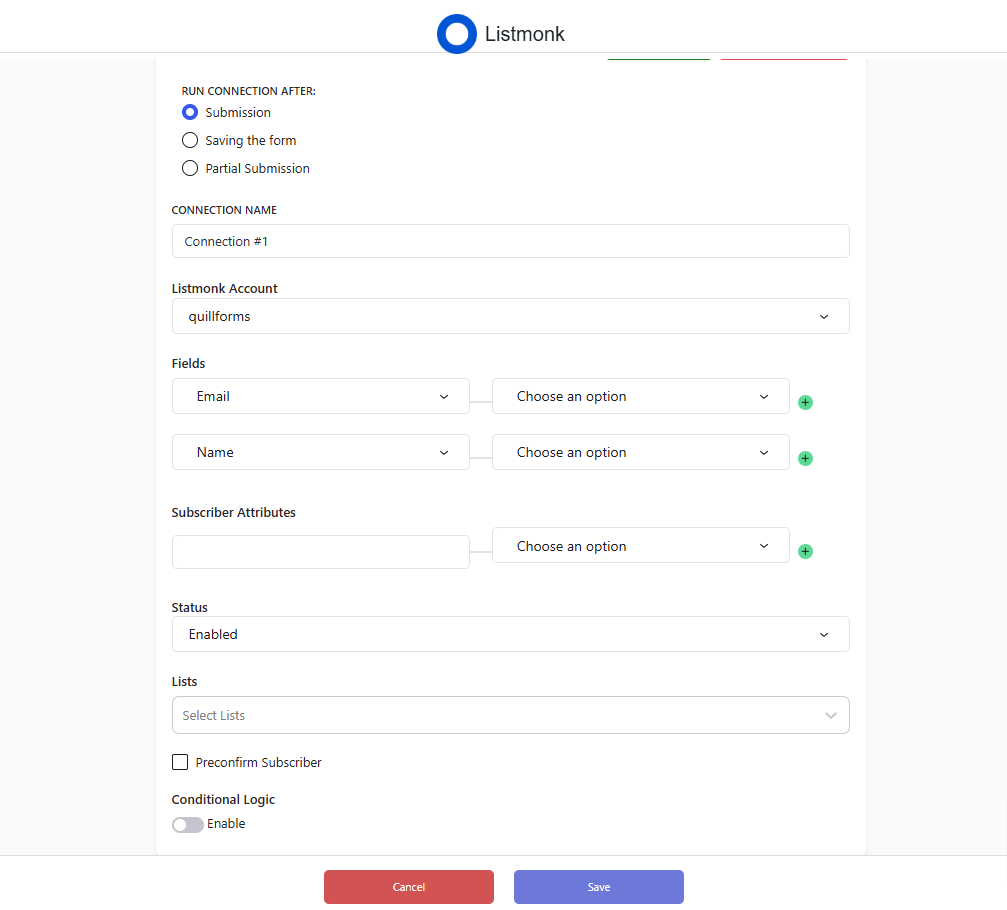
5. Optionally, enable Conditional Logic to run this connection only under specific conditions.
6. Click the Save button.
7. You’re all set! New form submissions will now be automatically added to your Listmonk account. You can also manually sync existing form entries by clicking the Run Connection button. Additionally, you can set up multiple connections with different Listmonk accounts, configurations, or conditional logic.
Conclusion
Integrating the QuillForms Listmonk addon with your WordPress site makes it easier to manage your email campaigns and grow your audience. By automating the process of adding form submissions to your Listmonk lists, you can focus on crafting engaging content and building strong connections with your subscribers. With this step-by-step guide, setting up the integration is quick and simple—empowering you to elevate your email marketing game effortlessly.


