To connect your forms with HubSpot you need to install the “Quill Forms HubSpot” addon first from “Quill Forms > Addons” Page.
How to setup:
- Go to the form you want to connect with HubSpot and click Integrations Tab.

2. Click “Connect” button.
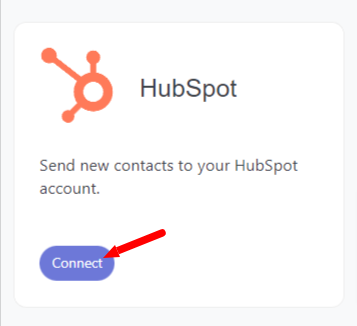
3. For the first time, you need to connect your HubSpot account with Quill Forms.
- Login to your HubSpot account to get your “Access Token”.
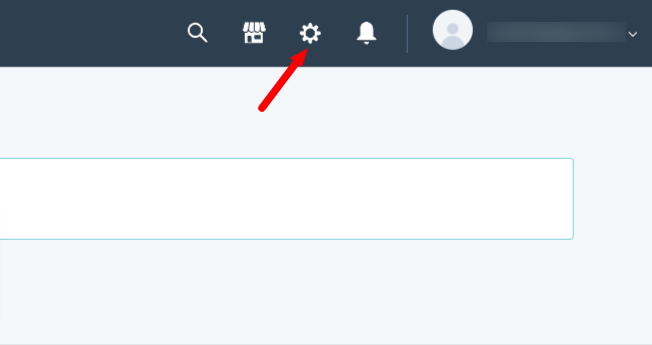
- Click the settings icon in the main navigation bar.
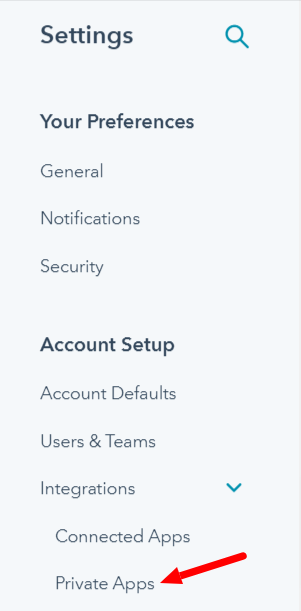
- In the left sidebar menu, navigate to “Account Setup” -> “Integrations” -> “Private Apps”.
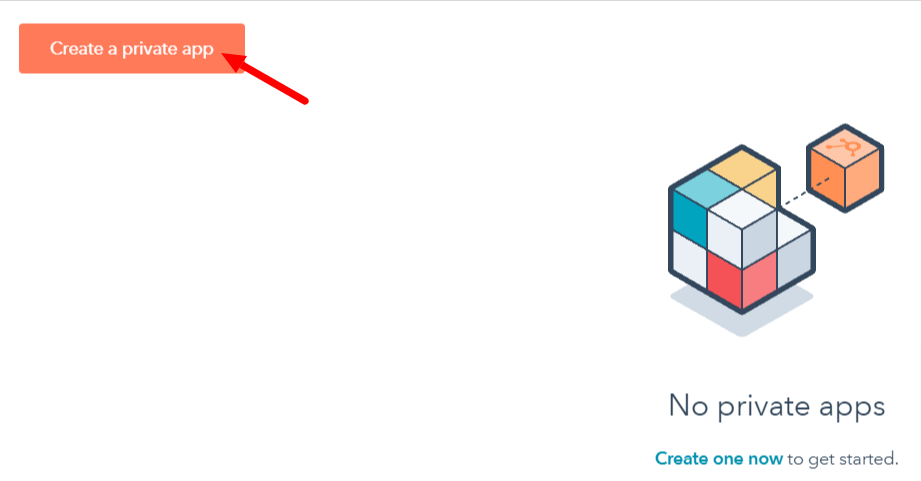
- Click “Create a private app” button.
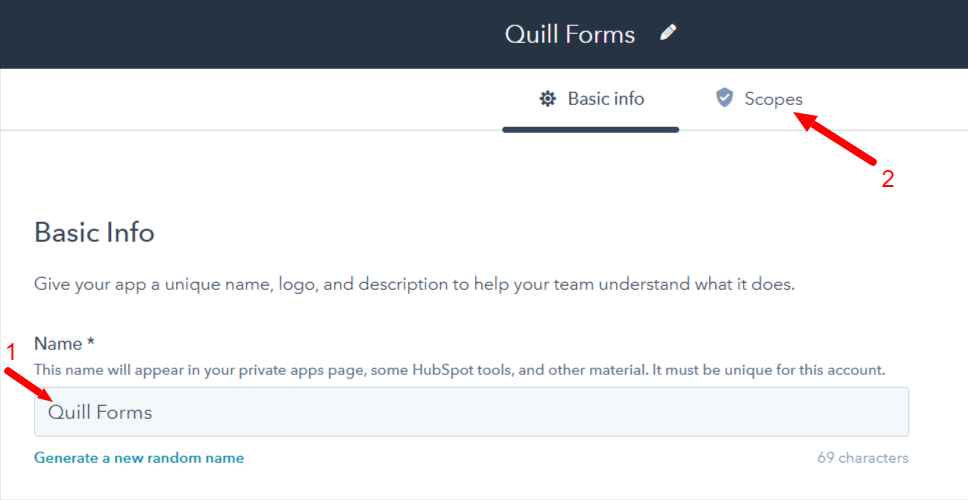
- Type “Quill Forms” as app name. Then switch to scopes tab.
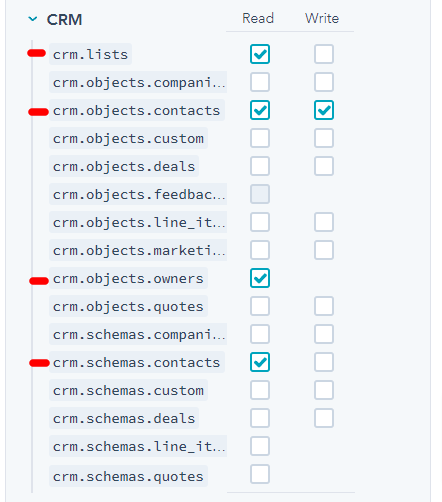
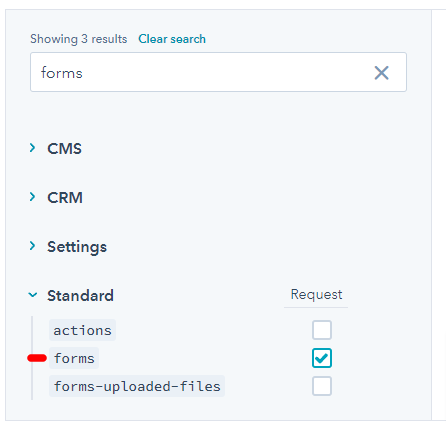
- Select the following scopes:
- forms (Request)
- crm.schemas.contacts (Read)
- crm.objects.owners (Read)
- crm.lists (Read)
- crm.objects.contacts (Read & Write)
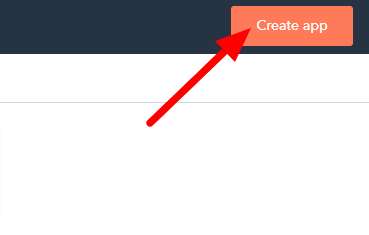
- Click “Create app” Button.
- Confirm the popup.
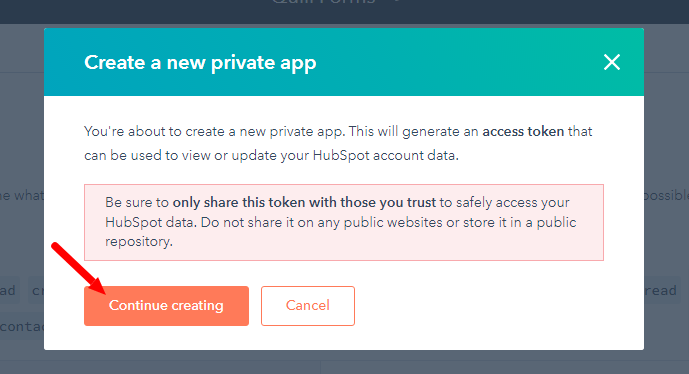
- Copy the API Access Token.
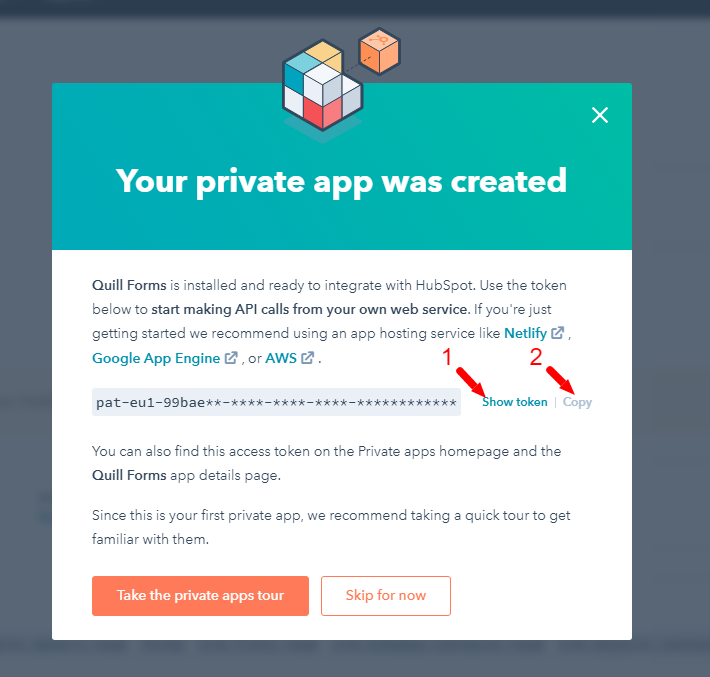
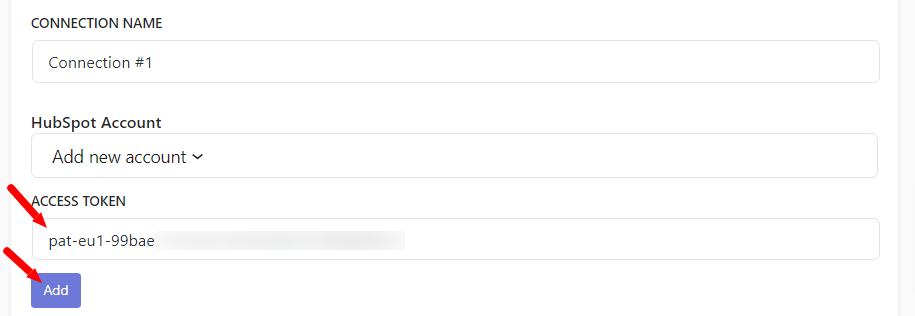
- And paste it there. Then click “Add” button.
4. Select action you want to do when a form entry is submitted, Map HubSpot fields and custom fields to your form fields.
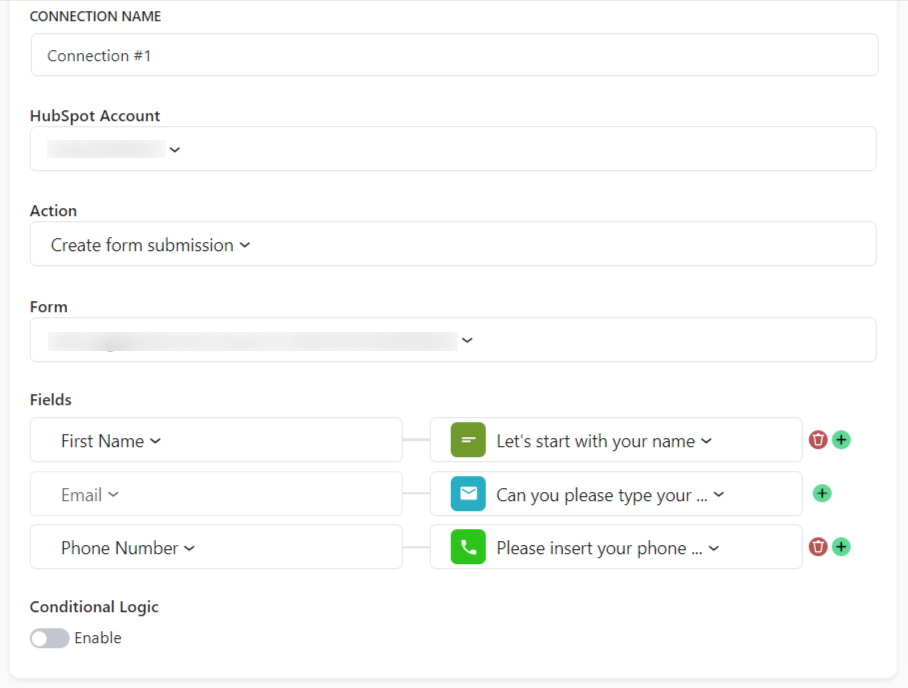
5. Enable “Conditional Logic” if you like to run this connection under certain conditions only.
6. Click “Save” button.
7. Now you’re all set! All your new form submissions will be processed with this connection. You can also run this connection manually for already submitted entries by clicking “Run Connection” Button!. You can also add additional connections with different HubSpot account, settings or conditional logic.


