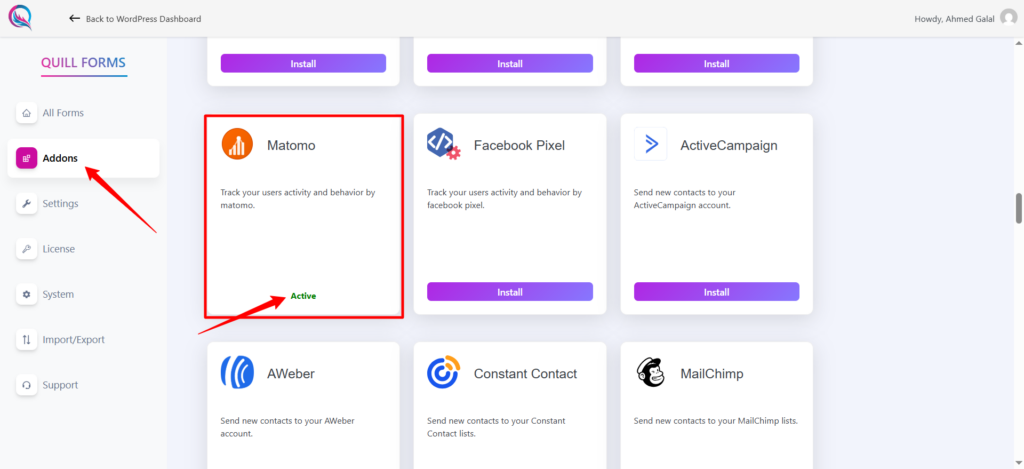
To integrate with Matomo Analytics, you have to install and activate the “Matomo Analytics” add-on first:
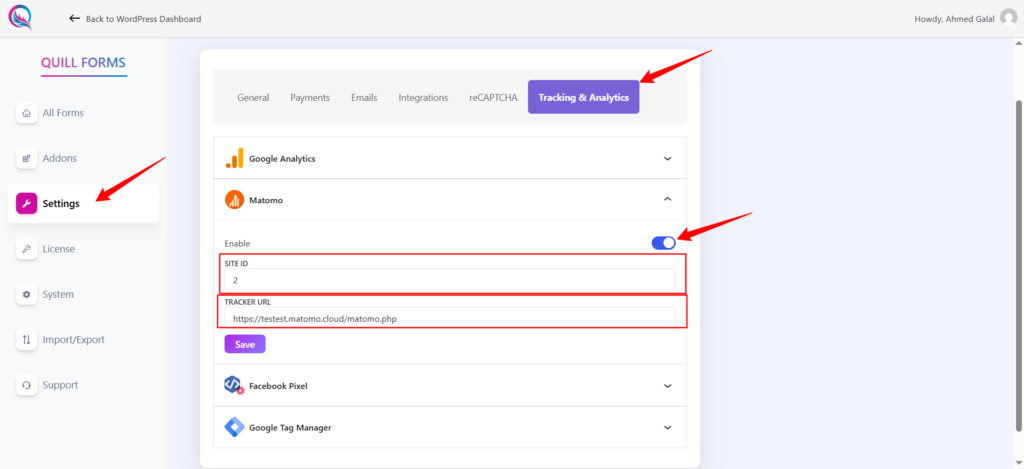
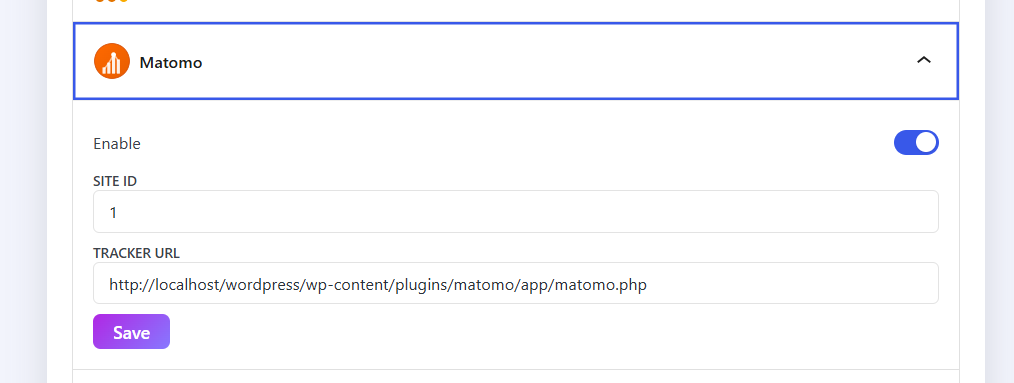
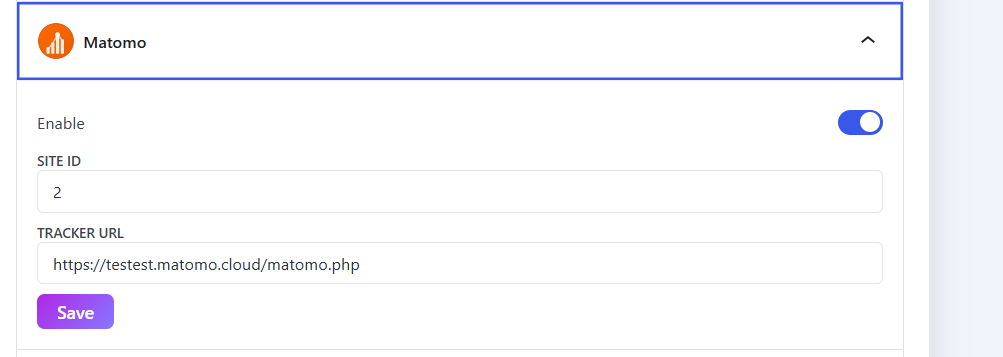
Then you have to get your SITE ID , TRACKER URL and insert it in Quill Forms settings page:
You have two ways to get the Matomo SITE ID and TRACKER URL
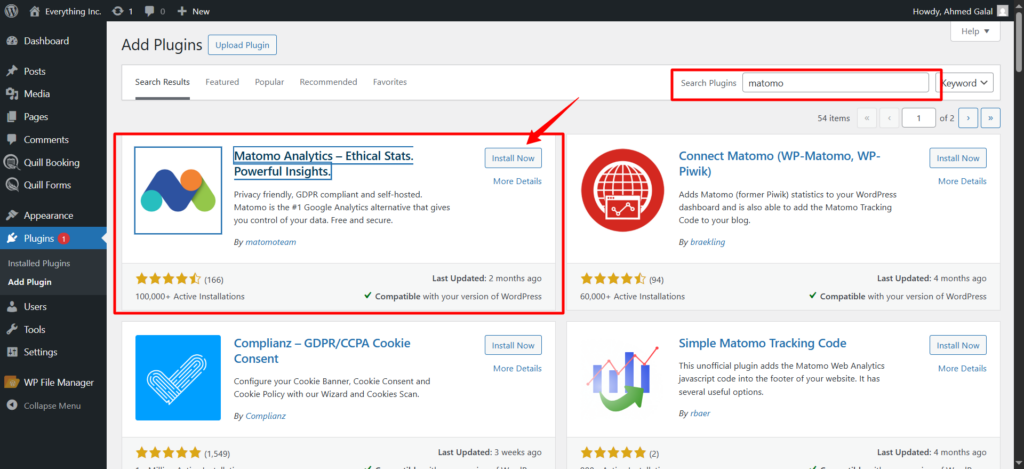
- You can download the WordPress plugins for Matomo or use Matomo Cloud instead of downloading them from WordPress.
- Download from WordPress as a plugin.
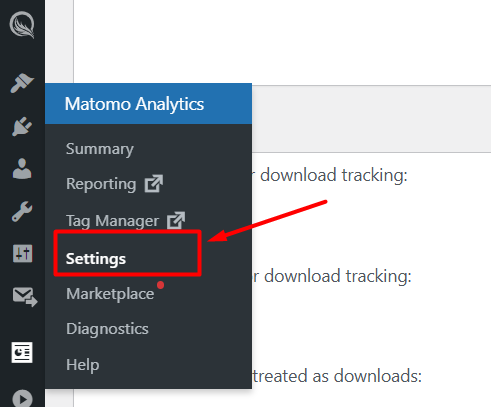
After installing, you’ll see the Matomo icon in the WordPress toolbar. Click on Settings and scroll down.
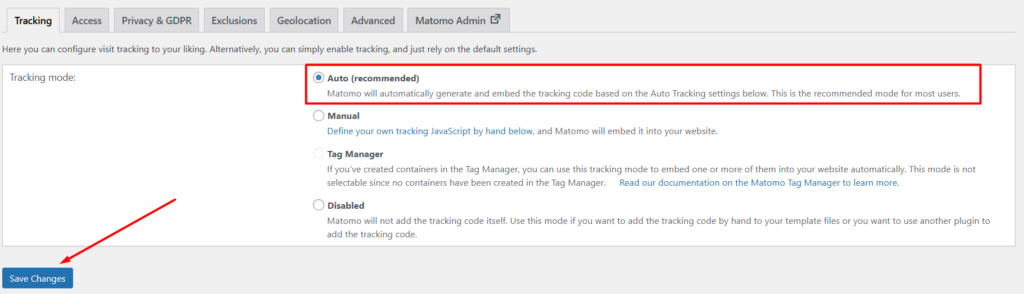
Next, go to Tracking Mode, select Auto, and click the Save Changes button.
Next, scroll down to the JavaScript Tracking Code section. Copy the setTrackerUrl value as the Tracker URL, and the setSiteId value as the Site ID.
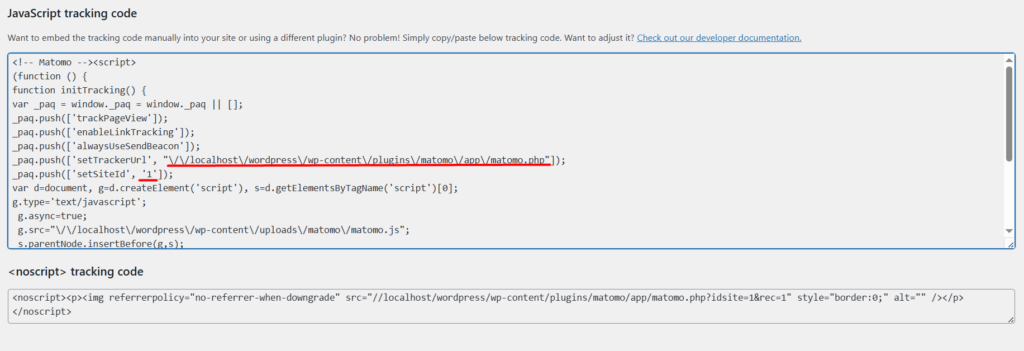
Then, set these values in the fields and click Save.
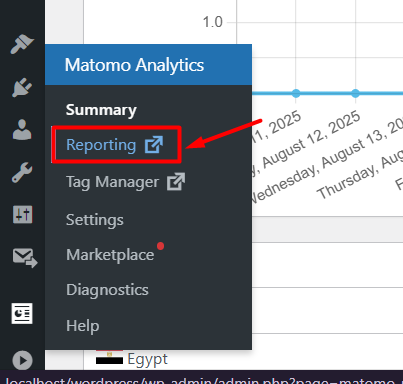
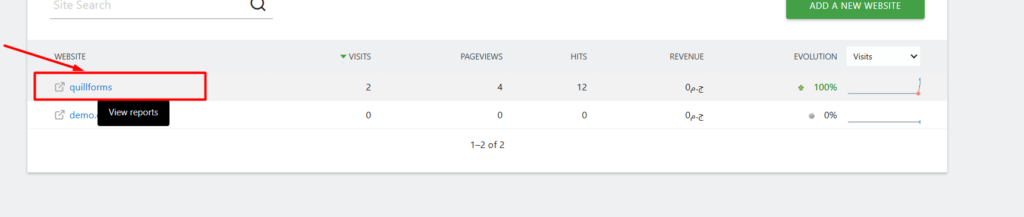
Finally, click on Reports to view all your analytics.
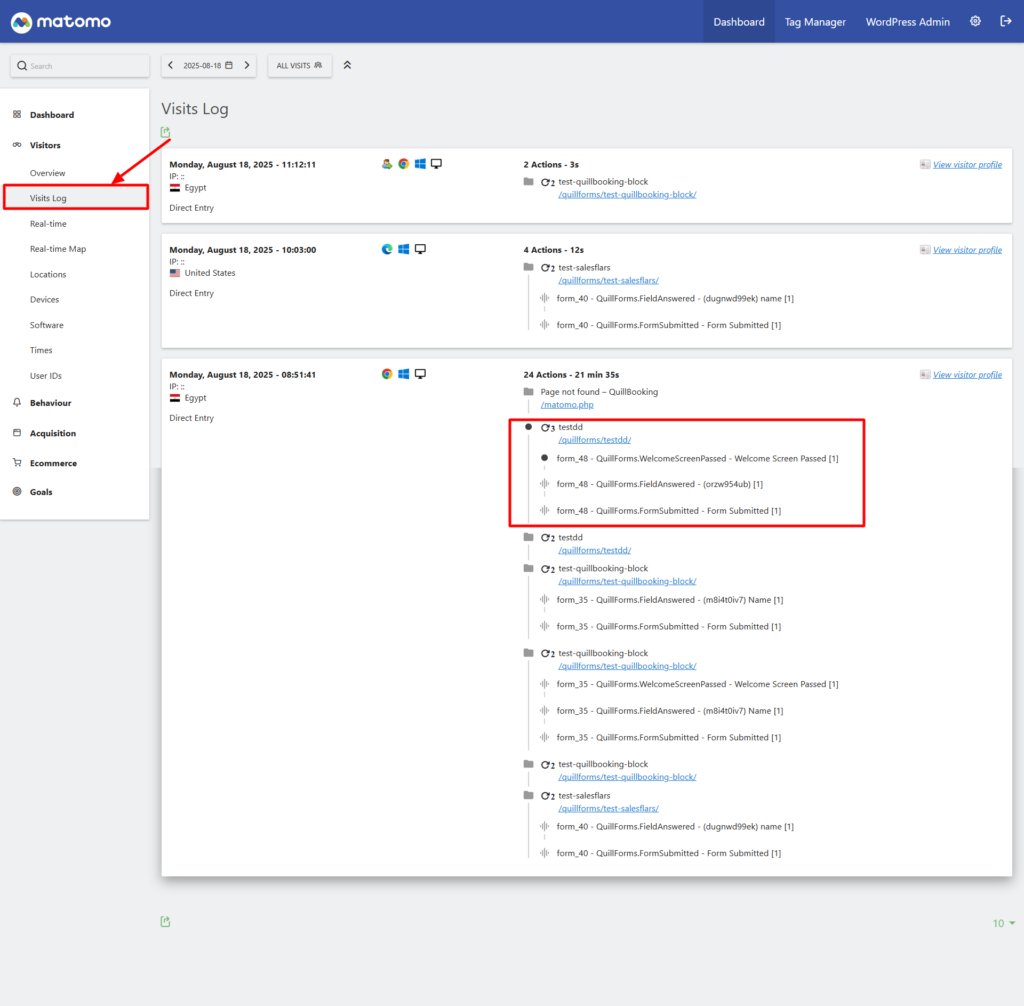
Then, go to Visits Log to see all actions for each form, displayed with images.
2. Use Matomo Cloud instead of the self-hosted version.
First log in to Matomo. Start Your Free Analytics Trial – Analytics Platform – Matomo , set your email, and the website URL.

Next, go to the All Websites tab, click the Add New Website button, and add your website.

After this, go to Websites, open the Manage subtab, choose your website, and click on View Tracking Code.
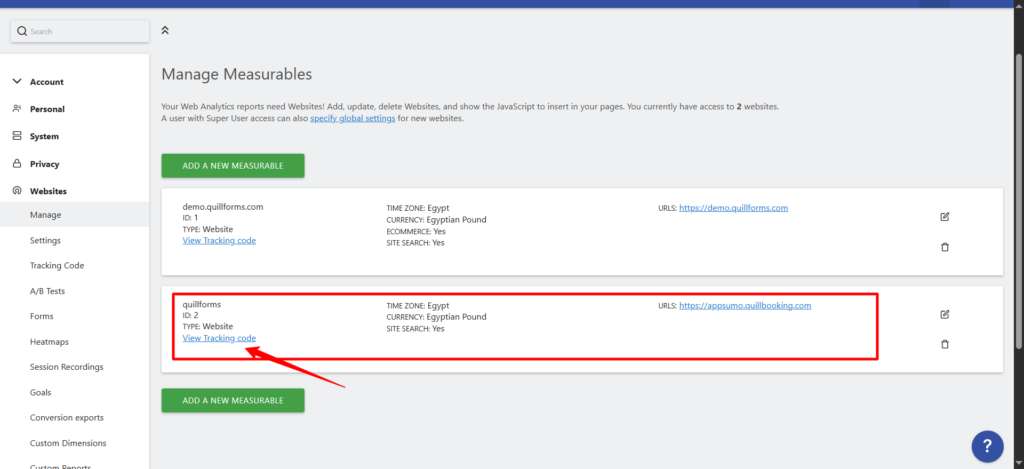
Next, scroll down to the JavaScript Tracking Code section. Copy the setTrackerUrl value as the Tracker URL, and the setSiteId value as the Site ID.

Then, set these values in the fields and click Save.
After this, click on the link to view the reports.
Then, go to Visits Log to see all actions for each booking, displayed with images.
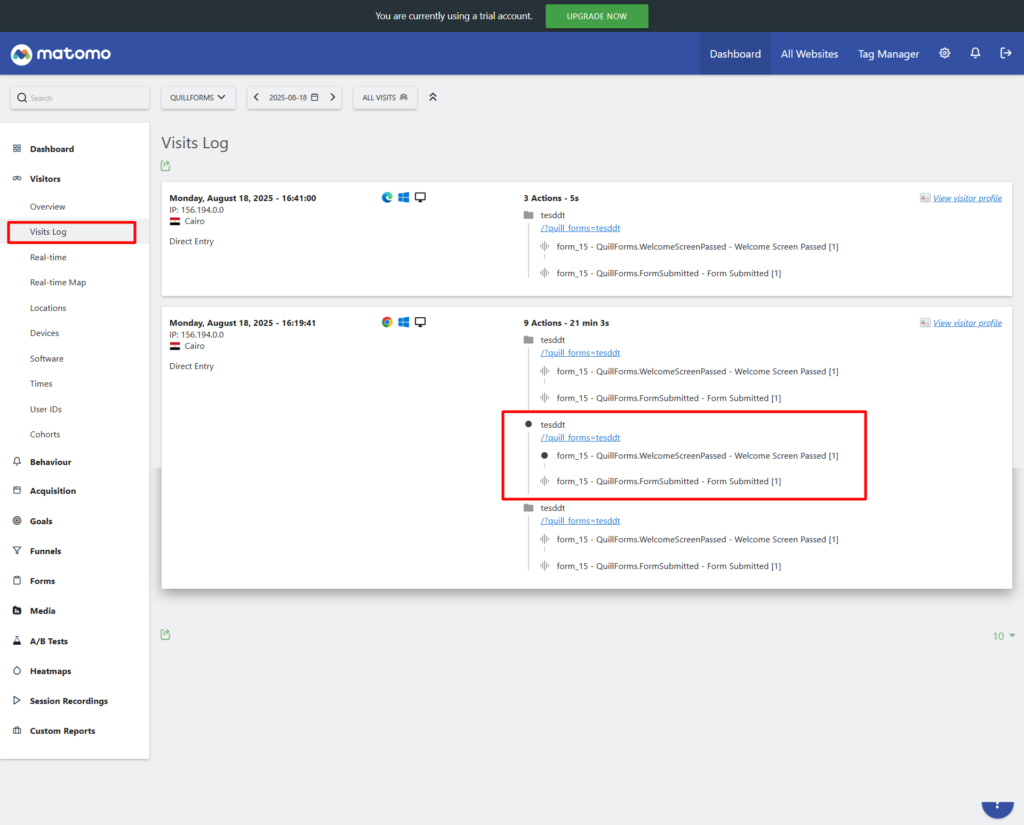
Quill Forms sends 3 types of event actions to Matomo Analytics:
1- QuillForms.WelcomeScreenPassed
This event action will fire after passing the welcome screen
2- QuillForms.FieldAnswered
This event action will fire after answering any question in the form. The Event label sent with this action is the answered question label
3- QuillForms.FormSubmitted
This event action will fire after submitting the form.


